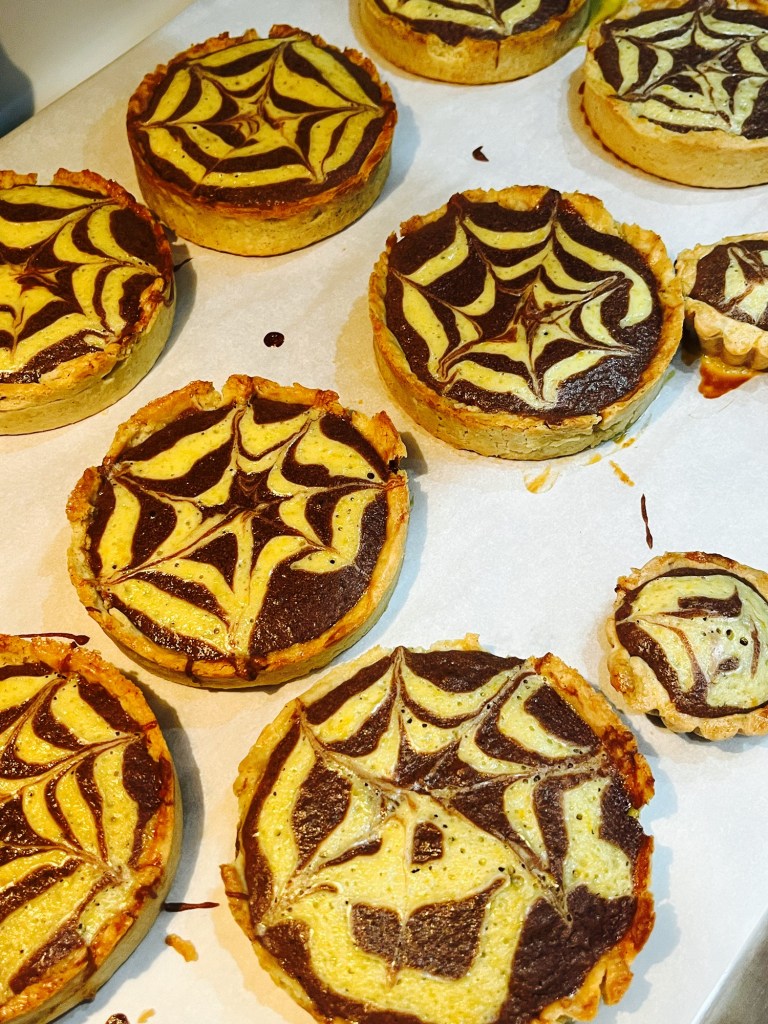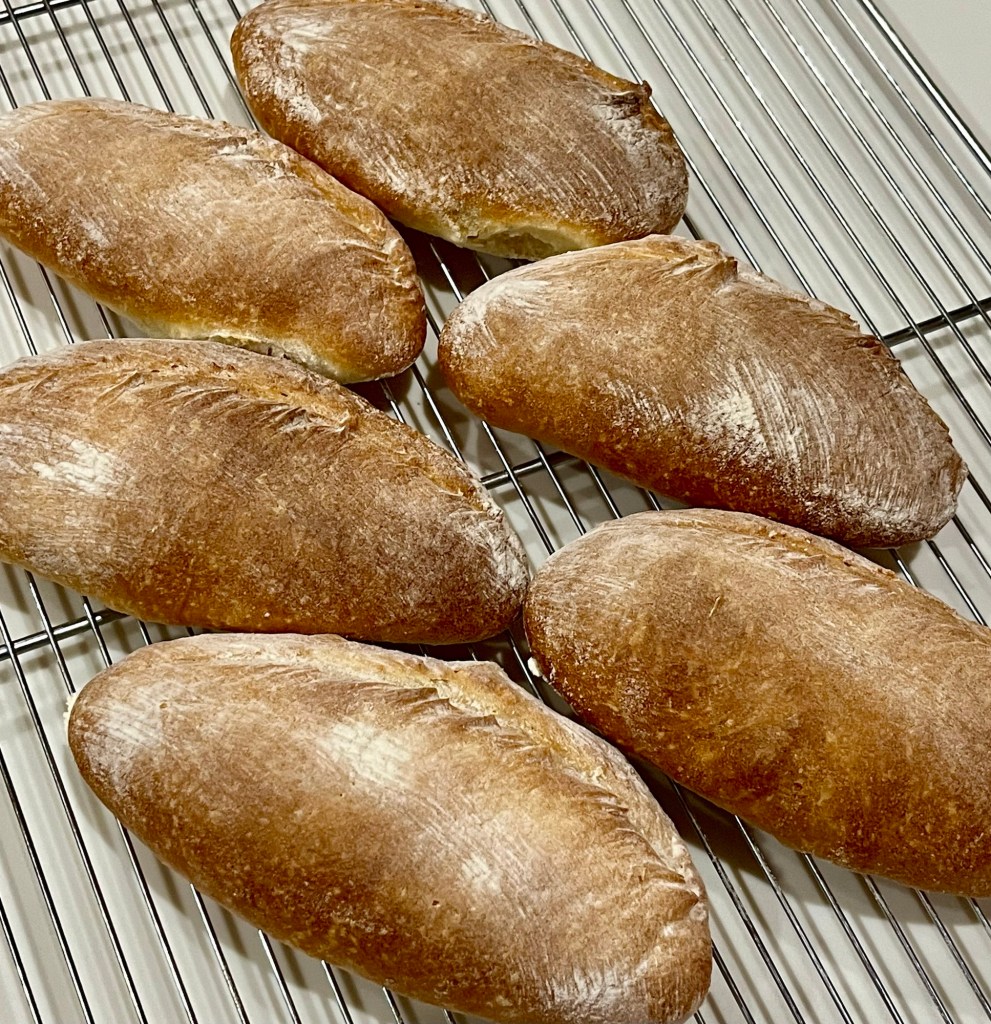
Mini Remnant Chocolate Cakes

If you follow me you likely know I am a Vermonter and anyone from New England is known to be… um… frugal. I made some baseball cakes this week and when the cake rises in the hemispherical molds there is a portion that needs to be trimmed off. Well, I am not one to waste anything, especially chocolate cake.

I made what QC termed mini chocolate cakes from the remnants. Really all I did was to make some White Meringue Frosting and cover the tops of the cakes and add a few sprinkles. Easy, peasy.

White Meringue Frosting

INGREDIENTS

  • ¾ cup (170 g) confectioner’s sugar
  • 3 large egg whites
  • 2 Tbl cold water
  • 1 tsp lemon juice
  • 1 ½ tsp vanilla extract

METHOD

  1. Place all ingredients in the stand mixer bowl and whisk until well combined.
  2. Chose a saucepan large enough so the mixer bowl will rest on the rim but not touch 1-2” of water in the saucepan.
  3. Once the water is almost boiling, place the mixer bowl on the saucepan and whisk the mixture. Turn the burner to low. The water should be not quite boiling. The mixture must not boil. Whisk until all the sugar is dissolved or you will end up with a grainy looking frosting. Check to see if it has reached 160-170⁰ F.
  4. Place the bowl in the kitchen mixer with the whisk attachment on. Whisk the meringue frosting until stiff peaks forms and has a glossy look. This can take up to 12 -15 minutes or more. But don’t over-beat. You will beat air into the frosting. It needs to be easily spreadable
  5. When the white meringue frosting is ready, if desired it can be colored with food gel colors. This frosting will crust over time, but the center of the frosting swirl will still be thick and fluffy.
  6. Cakes and cupcakes with white meringue frosting can be stored in the refrigerator for two days.

Tip: Makes enough to frost 12 cupcakes. If using it on cupcakes, use a plastic piping bag and a large piping tip for great cupcake swirls

It Ain’t Over Till It’s Over

Yesterday was Fran’s (a.k.a. QC’s) birthday and for any who know her she feels Dani Rojas had it almost right: “Baseball is life” but Dani, American football is a close second.

To celebrate. I decided to make personalized, individual baseball birthday cakes. I had 2 1/2 inch silicone hemisphere molds but thought they would be too small a piece of cake so I bought two 3” ones. (In hindsight, the smaller ones were probably adequate, but would be more difficult to decorate.)

Due to the need to keep the cakes cold this is a pretty long procedure. It required about 6 hours total.

Extreme Chocolate Cake Baseballs

Makes five 3” spherical cakes

INGREDIENTS
• For Cake: 3 cups white sugar
• 2⅔cups all-purpose flour
• 1¼ cup unsweetened cocoa powder
• 2¼ teaspoons baking soda
• 2¼ teaspoons baking powder
• 1½ teaspoon salt
• 3 eggs
• 1½ cup milk
• ¾ cup vegetable oil
• 3 teaspoons vanilla extract
• 1½ cup boiling water
For Buttercream: 2 stick softened butter
• 2cup icing sugar
• 4-6 Tbl milk
For Raspberry Buttercream: 1 stick softened butter
• 1 cup icing sugar
• 2-3 Tbl milk
• 6 oz fresh raspberries
For White Chocolate Ganache: 450g White Chocolate
• 110g (½ cup) heavy cream
• ~1 tsp white food coloring
For the Black Royal Icing: 1c (120g) confectioners’ sugar, sifted.
• 1 Tbl meringue powder (not plain egg white powder)
• 3 drops black food coloring
• 1 Tbl Black Cocoa
• 2-3+ Tbl room temperature water
For the Red Royal Icing: 1 c (120g) confectioners’ sugar, sifted.
• 1 Tbl meringue powder (not plain egg white powder)
• 3+ drops red food coloring
• 2-3+ Tbl room temperature water

METHOD

  1. Preheat oven to 350F (175C). Spray two 3” cell diameter silicone molds with Pam For Baking or equivalent. Line a 9×11” jelly roll pan with parchment paper.
  2. Make the cake: In a stand mixer bowl, stir together the sugar, flour, cocoa, baking soda, baking powder and salt. Add the eggs, milk, oil and vanilla, mix for 3 minutes. Stir in the boiling water by hand.
  3. Use a 1/3 measuring cup to fill each well two thirds full.
  4. Pour remaining batter into jelly roll pan and spread to flatten.
  5. Bake for ~25 minutes in the preheated oven, until a toothpick inserted comes out clean or 205 internal temp. Do NOT let the internal temp exceed 205 deg F or the cakes will be overdone.
  6. Cool for 10 minutes before removing from silicon molds to cool completely.
  7. Remove he cakes from the molds and refrigerate for 30 minutes to firm up the cakes.
  8. Set small sheet cake aside to be used as a base for the baseballs when serving.
  9. While the cakes are cooling make the raspberry buttercream:
    a. Make Raspberry Syrup: Heat 170g of raspberries in a small saucepan with two Tbl sugar and heat until boiling.
    b. When the raspberries are very tender mash them to break them into a sauce.
    c. Sieve the raspberries to remove the seeds and pulp and return to heat to reduce by half then cool.
    d. Make Raspberry Buttercream: Mix the butter and icing sugar and raspberry syrup. Add more milk as required to make the buttercream soft and easily spreadable. Beat at high speed until the buttercream is smooth and well mixed. (You may need to add the additional milk to achieve the desired viscosity as the cake will be very tender and fragile.)
  10. Form and assemble the cake balls: With a sharp knife cut the top of each hemisphere to flatten and create a small hole in each cake (I used a melon scoop)
    a. Fill the hole in each hemisphere and cover half of the cakes with buttercream
    b. Mate each coated hemisphere with an uncoated one and return to fridge to set the buttercream.
  11. Make vanilla and grass-green buttercream: Repeat making raspberry buttercream but substituting milk for raspberry syrup. Divide the buttercream 4::1. Color the larger amount with green food coloring to use to decorate the sheet cake later.
    a. Use the vanilla buttercream to fill any holes around the circumference of the cake ball and crumb coat each ball. (I dipped the ball in a thin buttercream and used gloved hands to smooth.)
    b. Return to the fridge to set the buttercream.
  12. Make the white chocolate ganache: The ganache must be pourable but thick enough to cover each ball with a smooth coating.
    a. Fill a saucepan with water to about 2 inches deep.
    b. Place a metal or glass bowl over the warm water. Make sure the bowl does not touch the water.
    c. Place the chocolate and cream in the bowl and stir frequently. When the chocolate is almost completely melted, remove it from the heat and let the rest of the chocolate melt while it sits off the heat. Add white food coloring until the desired level of whiteness is achieved and mix well. If there is any un-melted chocolate let it rest until all the chocolate melts. As long as the mixture is warm, the chocolate will continue to melt.
  13. To coat the balls: Place each cold ball on a stable surface that will keep them in place.
    a. Smooth the cold balls with gloved hands.
    b. Pour the white ganache over each ball, covering completely. Allow the chocolate to harden at room temperature, or in for fridge.
    c. If desired re-coat the balls by chilling them and repeat from step #12.
  14. Make the Black Royal Icing: Combine confectioners’ sugar, meringue powder, black food coloring, black cocoa and 2 Tbl of water in a large bowl.
    a. Using a hand mixer or a stand mixer fitted with a whisk attachment, beat icing ingredients together on high speed for 1.5 – 2 minutes.
    b. When lifting the whisk up off the icing, the icing should drizzle down and smooth out within 5-10 seconds. If it’s too thick, beat in more water a few drops at a time.
    c. I usually need 3 Tbl but on particularly dry days, I use up to 4-5 Tbl.
    d. Keep in mind that the longer you beat the royal icing, the thicker it becomes. If your royal icing is too thin, just keep beating it to introduce more air OR you can add more confectioners’ sugar.
    e. Remember the icing has to flow through a very small piping tip so it cannot be to thick. If it’s too thin it will run (for reference, see my photos)
  15. Make the Red Royal Icing: Sift confectioners’ sugar and meringue powder into a large bowl and add 2 Tablespoons of water.
    a. Add half the water after sifting the sugar. Add the remaining water or more, checking flow consistency of the icing is what you want for piping etc.
    b. Using a hand mixer or a stand mixer fitted with a whisk attachment, beat icing ingredients together on high speed for 1.5 – 2 minutes.
    c. When lifting the whisk up off the icing, the icing should drizzle down and smooth out within 5-10 seconds. If it’s too thick, beat in more water a few drops at a time. If your royal icing is too thin, just keep beating it to introduce more air OR you can add more confectioners’ sugar.
    d. When applied to cookies or confections in a thin layer, icing completely dries in about 2 hours at room temperature, quicker in the fridge.
  16. Decorating the baseballs: Use black royal icing to draw the seams of the baseball. (I suggest doing one ball at a time, returning to the fridge between piping steps.) I wanted each person’s name written in script on each baseball using the black royal icing.
    a. After all the names and seams are piped and the black royal icing is setting in the fridge, clean the piping pen and fill with red royal icing.
    b. Remove the baseballs from the refrigerator, one at a time, and pipe the red stitches in the traditional baseball style.
    c. Return the baseballs to the fridge but bring them to room temperature an hour before serving.
  17. Make turf: Cut small sheet cakes into 3×3” squares and pipe green buttercream covering each square using a Wilton 233 piping tip or equivalent. Center each baseball cake on a piece of turf.

Apple Pie for Freezing

A month ago, QC and I went to Apple Hill to buy some, wait for it,… apples! This is our traditional trip up past Placerville. It’s a nice drive up and we take a backroad home through the Sierra Nevada foothills. It looks a lot like Vermont.

I made a couple of dozen pints of applesauce, (we like applesauce.) and had leftover apples, beyond those we ate. I found a recipe for an apple pie designed to be prepared and frozen (for up to 2 months.) I also have a nice pie crust recipe I never used so along with the apples, the time was ripe. If you do not over-mix the fats and dry ingredients and do not over-work the dough the crust will be very flaky and delicious like this one.

Unfortunately, I couldn’t wait the full two months to complete the test, and baked it today, almost exactly one month from freezing. (Next time I will make two pies.)

Apple Pie Ready for Freezing

PIE CRUST
• 2 ½ cups (315g) all-purpose flour plus more for shaping and rolling
• 1 teaspoon salt
• 6 Tablespoons (85g) unsalted butter, chilled and cubed
• 2/3 cup (130g) vegetable shortening, chilled
• ½ cup (120ml) ice cold water

INGREDIENTS – PIE FILLING
• 6 c thinly sliced, peeled apples (6 medium)
• ¾ c sugar
• 3 Tbl all-purpose flour
• ¾ tsp ground cinnamon
• ¼ tsp salt
• ⅛ tsp ground nutmeg
• 1 tsp lemon juice

METHOD CRUST

  1. Whisk the flour and salt together in a large bowl.
  2. Add the butter and shortening. Use a pastry cutter, cut the butter and shortening until it looks like coarse gravel. (A few larger bits of fat are OK). In this step, you’re only breaking up the cold fat into tiny little flour-coated pieces; you’re not completely incorporating it. Do not overwork the ingredients.
  3. Measure ½ cup (120ml) of water in a cup. Add ice. Stir it around. From that, measure ½ cup (120ml) of water, since the ice has melted a bit. Drizzle the cold water in, 1 Tablespoon (15ml) at a time, and stir with a silicone spoon after every tablespoon has been added. Stop adding water when the dough begins to form large clumps. Do not add any more water than you need.
  4. Transfer the pie dough to a floured work surface. Using floured hands, fold the dough into itself until the flour is fully incorporated into the fats. The dough should come together easily and should not feel overly sticky. Avoid overworking the dough. If it feels a bit too dry or crumbly, dip your fingers in the ice water and then continue bringing dough together with your hands. If it feels too sticky, sprinkle on more flour and then continue bringing dough together with your hands. Form it into a ball. DO NOT OVERWORK THE DOUGH!
  5. Use a sharp knife to cut it in half. If it’s helpful, you should have about 1 lb, 8 oz dough total (about 680g). Gently flatten each half into 1-inch-thick discs using your hands.
  6. Wrap each tightly in plastic wrap. Refrigerate for at least 2 hours and up to 5 days.
  7. After the dough has chilled for at least 2 hours roll it out, one crust at a time, keeping the other in the refrigerator until you’re ready to roll it out. Lightly flour the work surface, rolling pin, and your hands, and sprinkle a little flour on top of the dough. Use gentle-medium force with your rolling pin on the dough—don’t press down too hard on the dough. When rolling dough out, start from the center and work your way out in all directions, turning the dough with your hands as you go. Between passes of the rolling pin, rotate the pie crust and even flip it, to make sure it’s not sticking to your work surface. Sprinkle on a little more flour if it’s sticking; don’t be afraid to use a little more flour. Roll the dough into a very thin 12-inch circle. Your pie dough will be about 1/8 inch thick, which is quite thin. Visible specks of butter and fat in the dough are perfectly normal and expected.
  8. Carefully roll one end of the circle of dough gently onto the rolling pin, rolling it back towards you, slowly peeling it off the work surface as you go. Pick it up, and carefully roll it back out over the top of the pie dish.

METHOD – PIE FILLING

  1. Place 1 pie crust in 9-inch disposable foil or metal pie plate (do not use glass). Press crust firmly against side and bottom of pie plate.
  2. In large bowl, gently mix filling ingredients; spoon into crust-lined pie plate.
  3. Top with second crust. Wrap excess top crust under bottom crust edge, pressing edges together to flute and seal.
  4. Tightly wrap unbaked pie in 3 layers of plastic wrap, making sure all sides of pie are completely sealed and unexposed.
  5. When ready to bake pie, heat oven to 450°F. Remove frozen pie from freezer; cut a few slits in top crust and place in oven. Do not thaw pie.
  6. Bake 25 minutes. Reduce oven temperature to 375°F; bake 40 to 50 minutes longer or until crust is golden brown and apples are hot and soft when pricked with a fork. If necessary, tent the edges of the pie to reduce darkening and bake in 10-minute periods until the internal temperature of the pie is 190 – 200°F.

1 Apple and 3 Bananas a Day…

We returned from Kauai VERY early this morning. When I staggered into the kitchen I found three VERY ripe banana and a very (small case on purpose) soft apple in our produce rack. Instantly, I thought apple-banana bread.

This recipe is an amalgam of several I found online. One note: my brown sugar was very clumpy so I ran it through a sieve before adding it to the other dry ingredients. I was able to break up the clumps with my fingers.

Apple-Banana Bread

INGREDIENTS
• 260 g (1¾ c) AP flour
• ¾ tsp baking soda
• ¼ tsp salt
• 75 g (⅓ c) granulated sugar
• 110 g (⅔ c) light brown sugar
• ¼ tsp cinnamon
• ¼ tsp nutmeg
• 2 eggs
• ⅔ c butter (very soft)
• 3 Tbl milk
• 3 small/medium bananas (mashed)
• 1 large apple (peeled, cored, chopped)

METHOD

  1. Mix together flour, baking soda, salt, sugar and spices.
  2. Blend in eggs, butter, and milk.
  3. Stir in banana and apple.
  4. Pour batter into greased loaf pan.
  5. Bake at 350F for about 1 hour or until toothpick test comes out clean. (Internal temperature was 193F.)
  6. Rest in the loaf pan for 10 minutes, then on a cooling rack until room temperature (if you can wait that long.)

Black Chocolate Cookies… Revisited

The second day of Mah Jongg at our house provided the opportunity to bake these black chocolate cookies again. (Follow the link for recipe and method.)

These are delicious cookies with the bitterness of the Dutch process cocoa offset by the sparkling sugar sprinkled on the top. Previously I flooded them with royal icing, (but this coarse sugar is easier.)

Olive Breadsticks Revisited

I made Paul Hollywood’s Olive Bread Sticks in 2017 and thought it was high time to repeat. It was another perfect golf day (but not a perfect score.) I love olives and I love bread. Ta Da!

See the recipe and method on the link above. Easy to make, although a tad messy. The dough is very slack and requires a lot of flour to be able to shape and move it. I also brush the finished breadsticks to remove excess flour after they have cooled.

Ever the Scientist

You would think having been out of the chemistry laboratory since 1978 (please don’t do the math) I would lose some of my scientific method mentality, but I haven’t.

I made rough puff pastry for the first time this week. Also for the first time, I bought an exorbitantly expensive commercial puff pastry (Dufour’s.) For price comparison, the Dufour was $11.99 for two sheets about 8”x9”. Trader Joe’s at $4.99 are only available in October and November. (Buy a bunch and stock up… I do!) Pepperidge Farms is $6.25 for 2 sheets, and my rough puff pastry is $1.65 for an equivalent size and number of sheets. Yes, not a typo, $1.65. It does take a little elbow grease to roll the cold dough out, but aside from the sore wrist, it is nearly free.

As for performance: Trader Joe’s puffs the least, which for a number of applications is an advantage. Dufour’s puffs more than Trader Joe’s but not as much as Dede’s Rough Puff, which in turn was less than Pepperidge Farms. All four tasted excellent, but as humble as I am capable of being, my rough puff was outstanding. It was as flavorful, puffed as much and was as easy to roll as any of the other three.

(I have made so many pastries with both Trader Joe’s and Pepperidge Farms I didn’t include them in today’s head to head analysis.)

Blackberry Hand Pies and Pain Au Chocolate.
(Dafour’s in the back, Dede’s in the front.)

Pain au Chocolate

INGREDIENTS

  • Puff pastry
  • Chocolate
  • Confectioner’s sugar
  • 1 egg

METHOD

  1. Roll out puff pastry
  2. Dust with confectioner’s sugar
  3. Cut into 2” wide (cut 5 long strips, then cut each in half)
  4. Lay chocolate at one end, roll one time, press down gently and roll again, press gently again
  5. Add second row of chocolate and roll one last time, press gently
  6. Chill overnight or at least 2 hours.
  7. Make egg wash with 1 egg and 1 Tbl water. Beat well with a fork.
  8. Brush with egg wash
  9. Paint the inner end of the roll to seal the end. Press firmly.
  10. Bake 360 deg 20-25 min on parchment lined baking sheet

Berry Hand Pie

INGREDIENTS

  • 1 egg
  • 1 tablespoon water
  • 2 tablespoons all-purpose flour
  • 1 sheet puff pastry, thawed but cool.
  • 4 ounces cream cheese, softened
  • 2 tablespoons granulated sugar or decorating sugar
  • ½ cup white chocolate chips
  • 6 ounces berries
  • 3 tablespoons coarse white sugar or decorating sugar

METHOD

  1. Heat the oven to 400°F.  Beat the egg and water in a small bowl with a fork.
  2. Stir the cream cheese and granulated sugar in a medium bowl until the mixture is smooth.  Stir in the white chocolate chips.
  3. Cut large berries in half.
  4. Sprinkle the flour on the work surface.  Unfold the pastry sheet on the work surface.  Roll the pastry sheet into a 12-inch square. Using a round cutter, cut into 24 (2½ -inch) circles.
  5. Brush the edges of 12 pastry circles with the egg mixture.  Place about ½ tablespoon cream cheese mixture in the center of each.  Top each with about one small or two halves of a large berry.  Place the remaining pastry circles over the filling.  Press the edges firmly to seal.  Crimp the edges with a fork. If you don’t seal them adequately the filling will leak out of the sides of the finished pastry.
  6. Brush the pastries with the egg mixture and sprinkle with the coarse sugar.  Using a sharp knife cut small slits in the tops of the filled pastries.  Place the pastries onto a silicone or parchment paper lined baking sheet.
  7. Bake for 20 minutes or until the pastries are golden brown.  Remove the pastries from the baking sheets and let cool on wire racks for 10 minutes.
  8. Eat. They are small. Eat again.

Puff the Magic Rough Pastry

It’s really rough puff pastry and it’s magic that I made it! Usually, I buy either Pepperidge Farm, or Trader Joe’s puff pastry. Pepperidge Farm puffs up at least twice Trader Joe’s and I choose depending on what I am baking.

While significantly more work than driving the couple of miles to the supermarket, this is significantly less expensive and more self satisfying. I was pleasantly surprised with the resulting puff pastry and even more amazed at the resultant baked pastries.

Rough Puff Pastry has been in my “What’s Up in Dede’s Bakery” for months and to give you an idea how bored I was this morning, I decided today is the day!

I found an excellent blog (theflavorbender.com) with detailed, clear instructions. Her instructions, with minor edits, are below. The hardest part is grating the frozen butter (without skinning a knuckle) and the last few rolls of the laminated dough.

Rough Puff Pastry

INGREDIENTS
• 60 g unsalted frozen butter grated and kept in freezer while the flour chills
• 200 g unsalted frozen butter grated and kept in freezer while the flour chills (weigh the butter after grating it)
• 350 g AP flour that has been kept in the freezer for a couple of hours
• 1 tsp salt
• 120 – 150 g ice cold water I used about 9.5 tbsp (142ml)
• ½ tsp lemon / lime juice / white vinegar

Costs
• Butter ~ $1.50
• Flour ~ $0.15

METHOD

  1. In a bowl, sieve the flour, salt and freeze for about 2 hours
  2. Add the 60 g of frozen, grated butter. With your fingers quickly rub the butter into the flour.
  3. Add the lemon and water, a tablespoon at a time, while mixing with a wooden spoon or your fingertips to bring the dough together.
  4. Add enough water to form a firm dough (that is not tacky or too wet).
  5. Knead the dough on a floured surface for about a minute and leave it to rest for about 5 minutes (in the fridge).
  6. Roll the dough out into a long rectangle (about 6 – 7 inches wide, and 15 – 16 inches long).
  7. Sprinkle 100 g of frozen, grated butter on 2/3rds of the area of this rectangle.
  8. Fold over the portion without butter, towards the middle.
  9. Then fold the first fold over the still butter exposed end. You completed one-fold (while laminating butter).
  10. Turn the dough 90 degrees and roll it out to form another long rectangle (about 5 – 6 inches wide, and 15 – 16 inches long).
  11. Repeat with the rest of the butter and fold over, (completed 2nd fold with second lamination) and turn 90 degrees. Now you have incorporated all the butter in two folds.
  12. Complete 3 more folds so you have folded the dough about 5 times. You shouldn’t need to refrigerate between folds, if you work quickly, HOWEVER if it’s a hot day and the butter starts to seep through, keep the dough in the freezer for about 10 minutes to harden the butter and continue.
  13. After the fifth and final folding, wrap the dough in plastic wrap and store it in the fridge until needed.
  14. Let it rest for at least 2 hours before using. (I prefer to leave it longer, even overnight for best results.)
  15. If you’re not using it right away, cut the dough in half, wrap individual pieces in plastic wrap and store in the freezer.

Whipped Key Lime Pastries

I love key lime. I saw a recipe that inspired me to make two pastries featuring whipped key lime (like a chiboust with key lime curd mixed with stabilized whipped cream.)

My first attempt used Pepperidge Farm puff pastry to form the pastry cups. This puff pastry “puffed” up too much. My second try used Trader Joe’s puff pastry which only puffs about 25% of Pepperidge Farm’s. This pastry worked better.

Cut the puff pastry into circles (I use hexagons as they don’t waste as much pastry) about 2” larger than the diameter of the cupcake pan pocket. Fit the circles into each pocket. Try not to fold them over along the sides and more than necessary. Place a mini-cupcake paper in each and fill with baking beans (not baked beans,) then cover with an identical cupcake pan. This will retard the “puff” of the pastry.

Bake about 15 minutes at 400F. Remove the upper pan, the cupcake paper and beans, turn the oven off and return the baked shells to the over to dry the bottoms. This should take ~5 minutes.

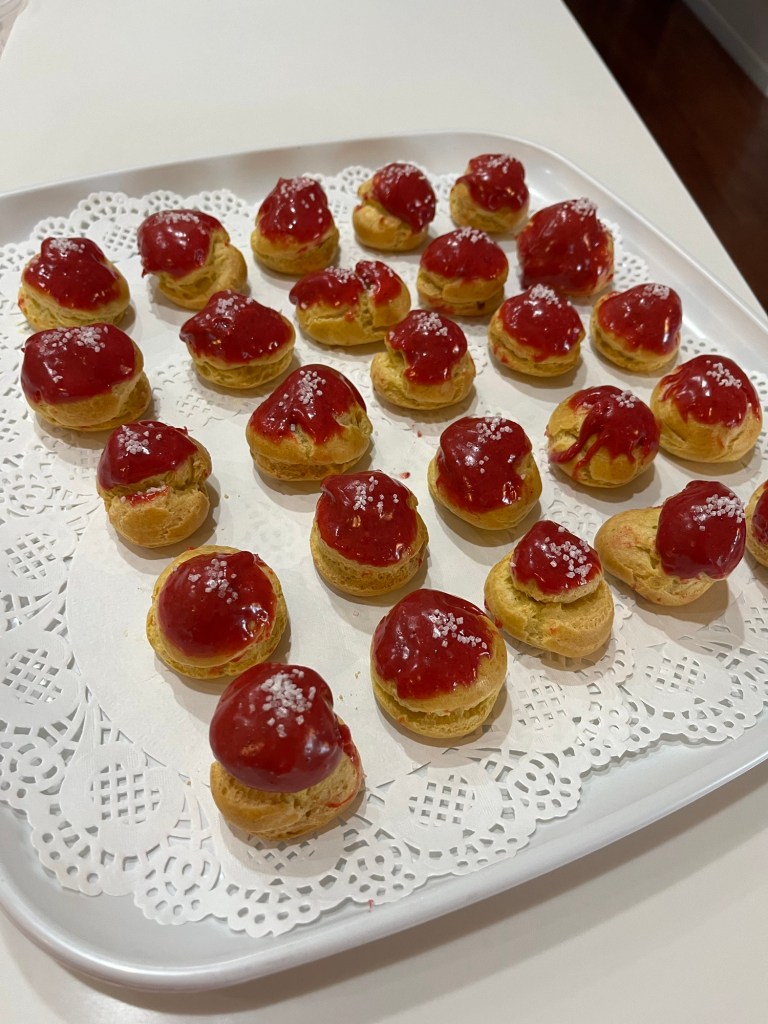
I could have done a better job drizzling (should have!) When the first attempt failed I made profiteroles as well.

Key Lime Cream Puff Pastry

INGREDIENTS
• 1 sheet puff pastry (Trader Joe’s preferred)

Whipped Cream Key Lime Curd:
• ½ c white sugar
• 2 Tbl cornstarch
• ¼ tsp kosher salt
• 1 large egg, plus 2 large egg yolks
• 2 tsp lime zest
• ⅔ c key lime juice
• ⅔ c sweetened condensed milk
• 2 Tbl butter
• ¾ c heavy whipping cream

Key Lime Drizzle:
• 3 c confectioners’ sugar
• 2 tsp lime zest
• 4-6 Tbl key lime juice
• ¼ tsp Agar agar.

Alternative Raspberry Drizzle
• 12 oz raspberries – fresh or frozen; about 320g
• ~4 to 6 Tbl granulated sugar – to taste
• ~1 tsp lemon (or lime) juice
• ¼ tsp Agar agar.

METHOD

  1. Curd: In a medium saucepan, whisk together the sugar, cornstarch, and salt.
  2. Whisk in the egg yolks, lime zest, and juice. Bring to a boil, over medium-high heat. Whisk constantly and cook for about 1 minute.
  3. Remove from heat, whisk in sweetened condensed milk, and bring back to a boil.
  4. Remove from heat again and strain the mixture through a sieve. Add in butter and whisk until smooth.
  5. Cover with plastic wrap, and chill for at least 3 hours, or overnight.
  6. Puff Pastry Shell: Cut defrosted and pliable puff pastry into circles 2” larger than the cupcake pan pocket. I use hexagon cutters as they are more efficient and don’t waste as much pastry dough.
  7. Fill each cupcake pan pocket with pastry, put small cupcake paper in each pocket, fill with beans and cover with an identical cupcake pan.
  8. Bake at 400 F for 15 minutes, or until pastry is golden brown. Remove the upper pan, beans and cupcake papers and bake another 5 minutes to dry the bottoms of the shells.
  9. Cool pastry cups to room temperature.
  10. Drizzle: Whisk together confectioners’ sugar, key lime zest, and lime juice. Add more powdered sugar/lime juice if needed for the right dripping consistency.
  11. Assembly: Spread a thin layer pf curd in the bottom of each cup.
  12. Whip heavy cream to stiff peaks and fold into the the balance of the curd.
  13. Refrigerate the mixture until ready to use.
  14. Transfer the whipped cream key lime curd to a piping bag, with a large star tip.

Alternative raspberry drizzle:

  1. Add the raspberries, sugar, agar-agar and lemon juice to a saucepan and bring to a boil while mashing the raspberries to break them down. Once it boils, turn off the heat and adjust with more sugar or lemon juice as needed.
  2. Strain the raspberry sauce through a fine mesh sieve to remove the seeds. Press firmly to extract all of the pulp as that is what thickens the sauce.
  3. Thin with a teaspoon of water at a time, (if desired) keeping in mind the sauce thickens as it cools.
  4. Use in place of lime curd where desired.

Harry Potter: “I Love Magic”

This recipe for a chocolate magic custard cake flew by my Facebook stream and I knew I was going to make it.

Baked in one pan the resultant cake has three distinct layers, hence, the magic. The bottom is a typical, albeit dense, cake. The center is a delicious chocolate custard, much like a smooth, rich pudding. The top has the consistence of a very thin brownie.

The originators of this recipe have a number of “magic” cakes, Zerrin and Yusuf Gunaydin. Try them, they are worthy.

CHOCOLATE MAGIC CUSTARD CAKE

INGREDIENTS
• 4 eggs, room temperature, separated
• 1 teaspoon vanilla extract
• 1 ¼ cup sugar
• 110g butter (½ cup), melted and cooled
• ½ cup AP flour
• ⅓ cup and 2 tablespoons unsweetened cocoa powder
• 2 cups lukewarm milk
• 1 tablespoon powdered sugar for dusting

METHOD

  1. Preheat oven to 320F (160C).
  2. Grease an 8×8 inch square (or 9-inch round) baking pan line it with parchment paper.
  3. Beat egg whites in a bowl until stiff and put aside.
  4. Whisk egg yolks, vanilla extract and sugar until creamy.
  5. Add melted butter and mix for half a minute.
  6. Add the flour and unsweetened cocoa powder. Mix with a whisk (whisk attachment with hand mixer) until well incorporated.
  7. Pour the milk gradually and continue whisking.
  8. Add in the egg whites, one third at a time and gently stir with a whisk. (Full disclosure: I used a hand mixer with the whisk attachment at the slowest speed.) Stir until combined, do not over mix. There will be some small bits of egg white visible in the batter. Don’t worry about it.
  9. Pour this runny batter into the baking pan and bake for 60 minutes. I started checking doneness at 45 minutes, then every 5 minutes thereafter. (I stopped at 55 minutes.)
  10. The centre of the cake will still be jiggly when removed from oven.
  11. Let it cool for about half an hour and then remove from the pan. When it reaches room temperature, chill it at least for an hour. (I couldn’t wait and cut a QC piece in 30 minutes, cooling at room temperature. It was fine.)
  12. Slice it in the size you like and dust with powdered sugar right before serving and/or garnish it with fresh fruit
  13. Store in refrigerator